准备
- 下载安装VMware Workstation 16 Pro(激活密钥
ZF3R0-FHED2-M80TY-8QYGC-NPKYF) - 下载安装虚拟机镜像Ubuntu 20.04.1
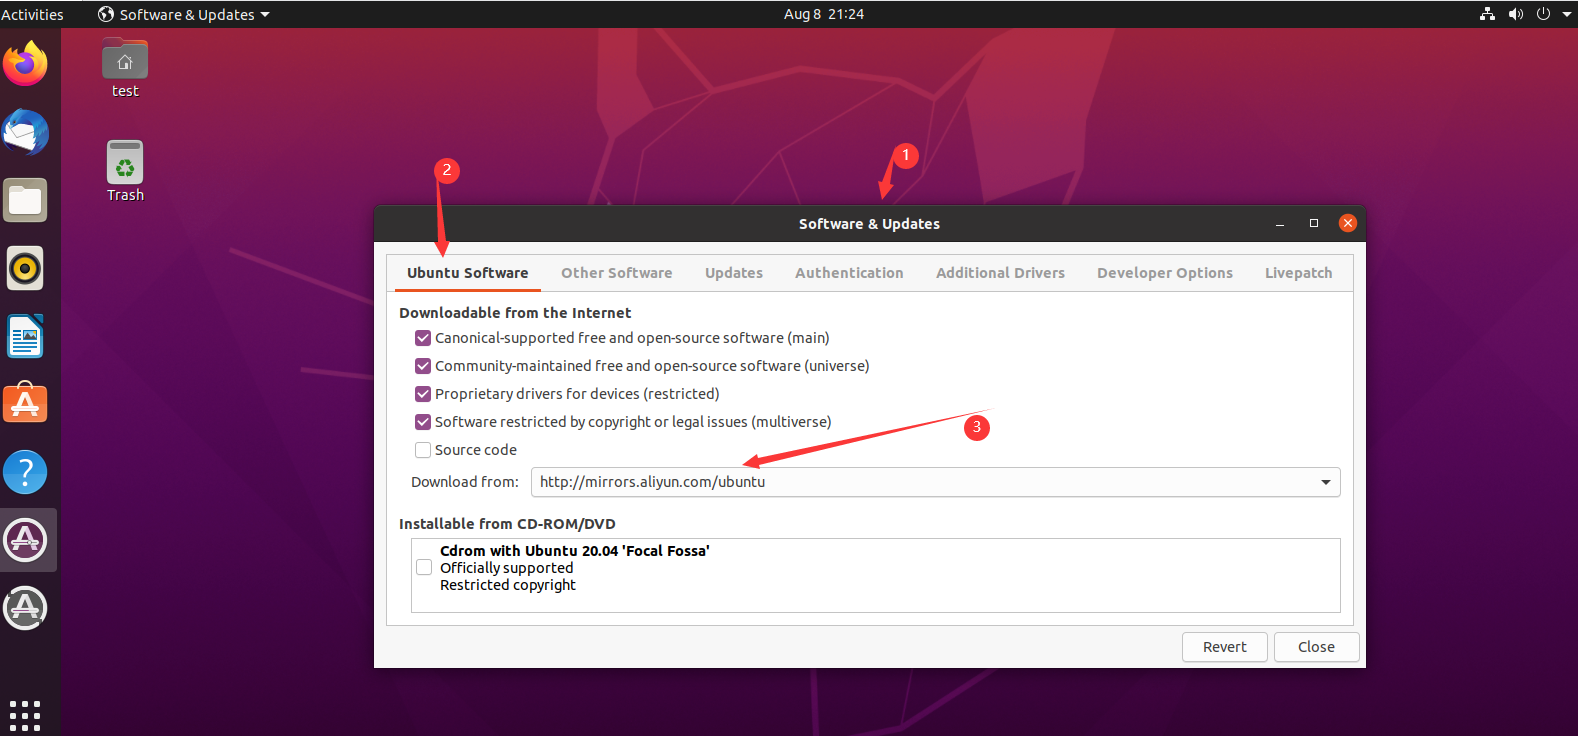
- 设置ubuntu软件源为阿里源

设置阿里源 - 打开ubuntu命令行并运行
sudo apt update && sudo apt upgrade更新软件 - 安装环境依赖1
sudo apt install -y git autoconf make --without-bdb libdb++-dev libtool g++ libqt4-dev libzmq-dev libevent-dev
编译Bitcoin
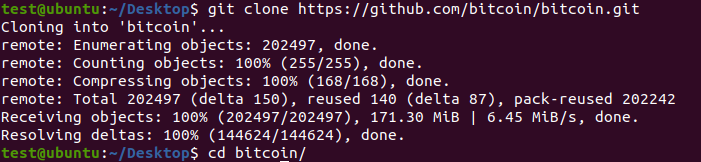
- 通过
git clone命令下载Bitcoin源码
Bitcoin源码 - 在源码根目录下执行
sudo ./autogen.sh - 在源码根目录下执行
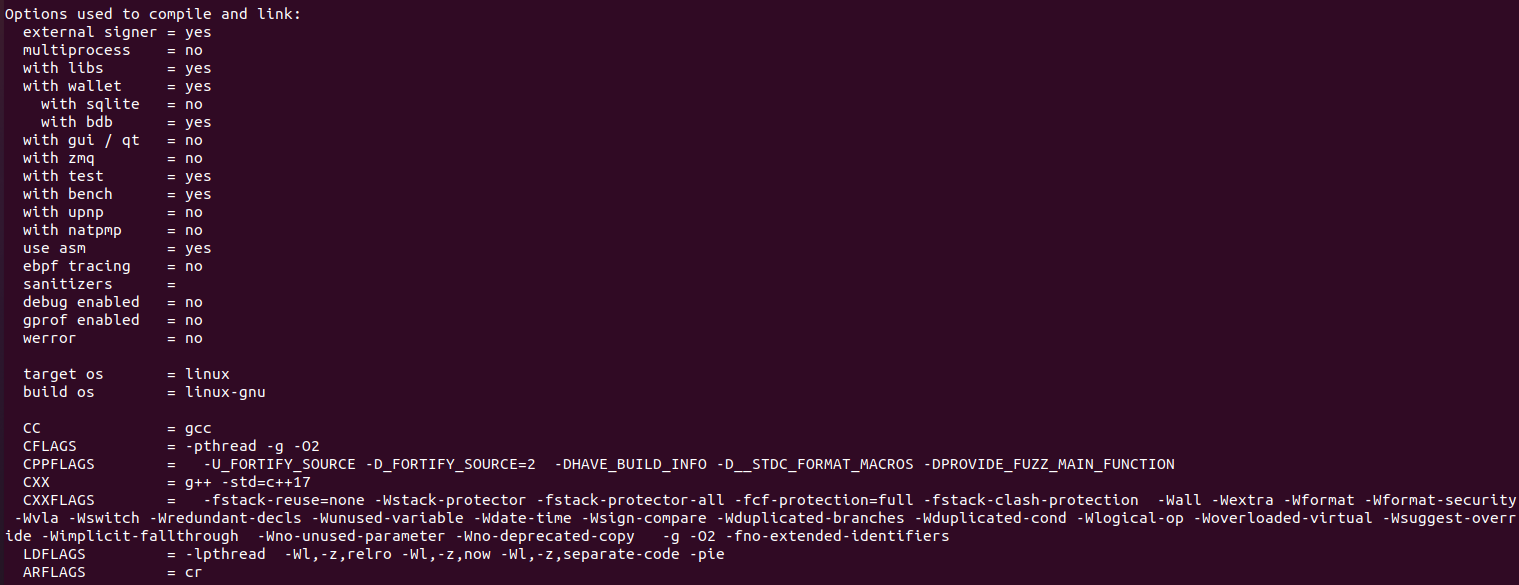
sudo ./configure,常见错误及处理方法:- 执行
sudo ./configure --with-incompatible-bdb若出现:
1configure: error: Found Berkeley DB other than 4.8, required for portable BDB wallets (--with-incompatible-bdb to ignore or --without-bdb to disable BDB wallet support)- 执行
sudo ./configure --with-incompatible-bdb --disable-dependency-tracking若出现:
1config.status: error: Something went wrong bootstrapping makefile fragments for automatic dependency tracking. Try re-running configure with the '--disable-dependency-tracking' option to at least be able to build the package (albeit without support for automatic dependency tracking).
configure成功 - 执行
- 在源码根目录下执行
sudo make(可能要几十分钟)
sudo make - 在源码根目录下执行
sudo make install
sudo make install - 安装完成后使用
bitcoin-cli -h命令测试
bitcoin-cli -h


定制FantasyCoin
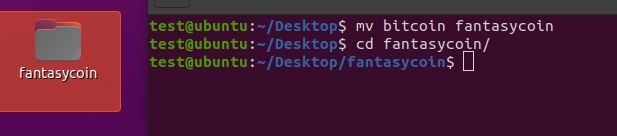
- 重新通过
git clone命令下载Bitcoin源码 mv bitcoin fantasycoin修改目录名为fantasycoin
mv bitcoin fantasycoin - 修改文件名
|
|

|
|
- 修改运行端口
|
|
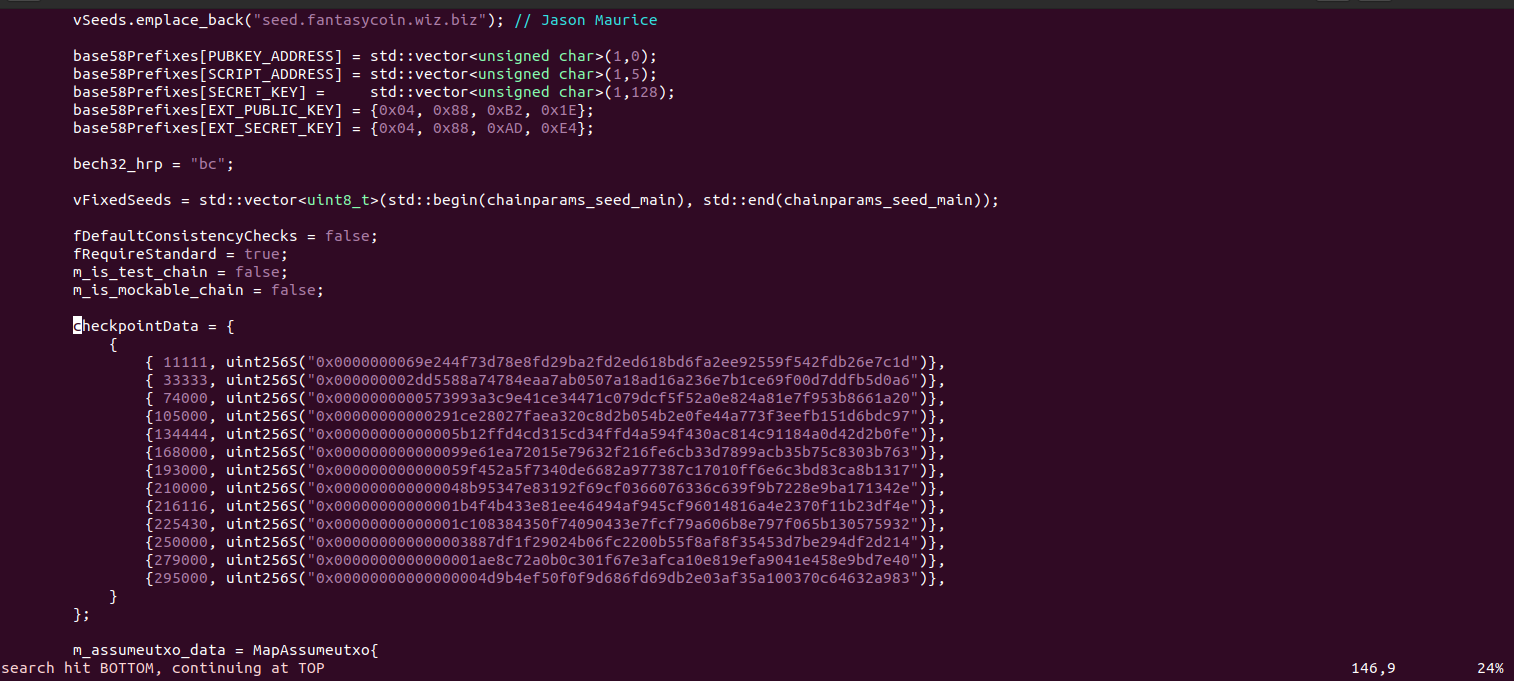
- 修改检查点
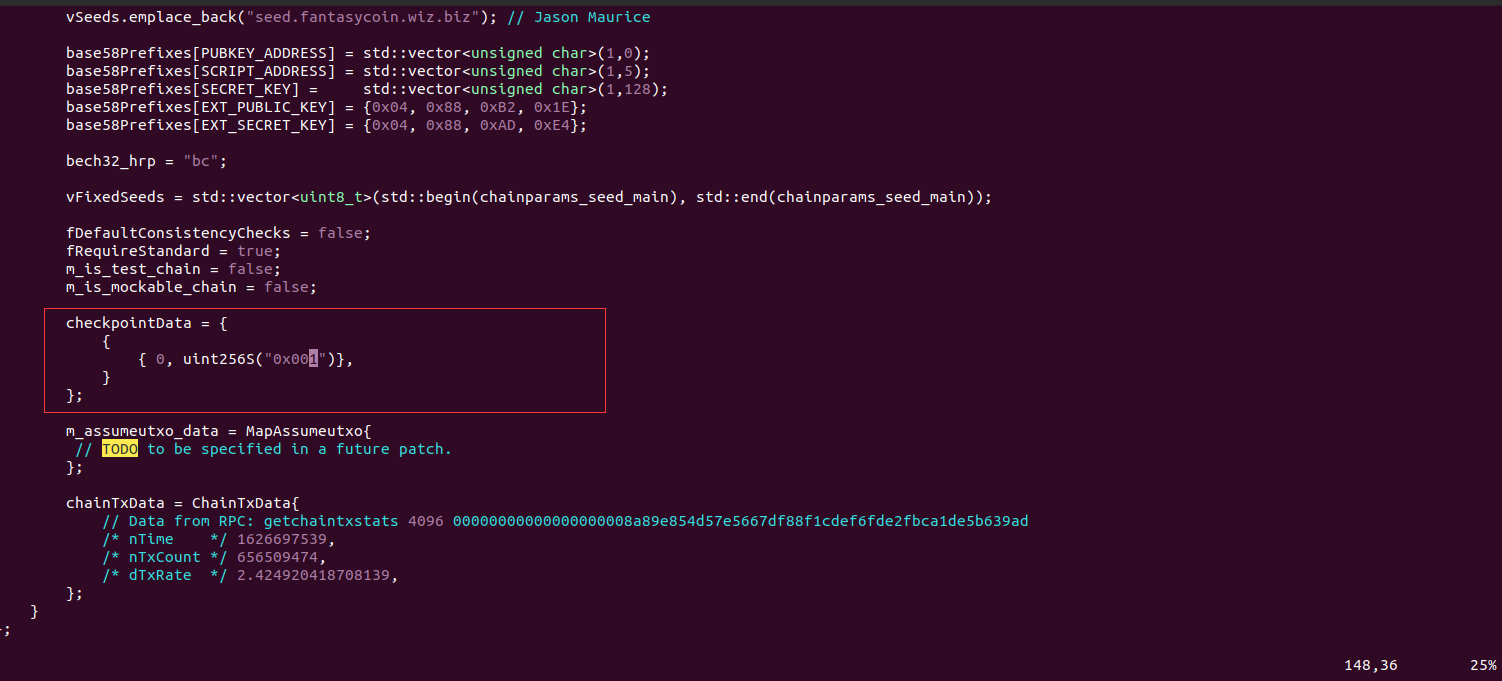
比特币客户端初始化时会检查特定的几个区块的 hash 值是否符合要求,这几个特定区块的高度就是比特币的检查点。由于我们自定义的虚拟币并没有已存在的链,所以需要将检查点删除修改为创世区块。使用 vim 命令打开 src 目录下的 chainparams.cpp 文件,搜索 checkpointData 关键字可在第146行找到比特币默认的几个检查点区块:原始检查点 (0, uint256("0x001")):
修改后检查点 - 在源码根目录下执行
sudo ./autogen.sh - 在源码根目录下执行
sudo ./configure - 在源码根目录下执行
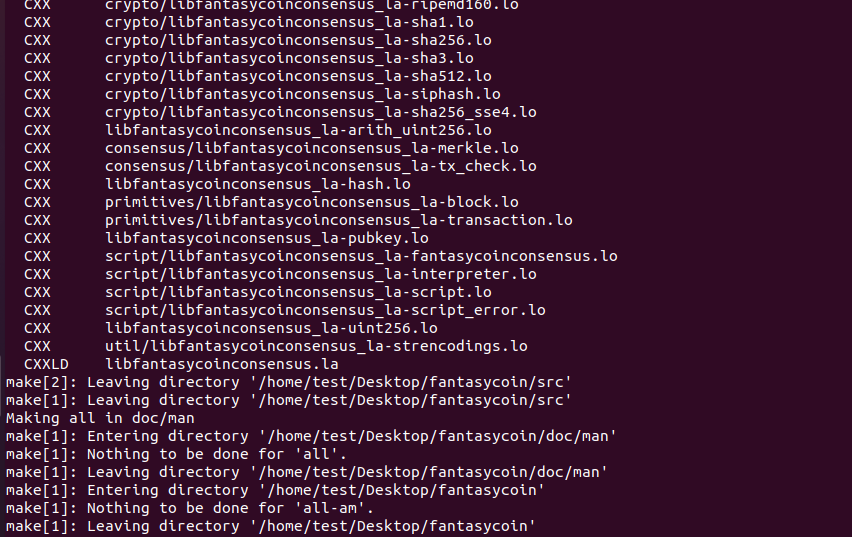
sudo make(可能要几十分钟)
sudo make - 在源码根目录下执行
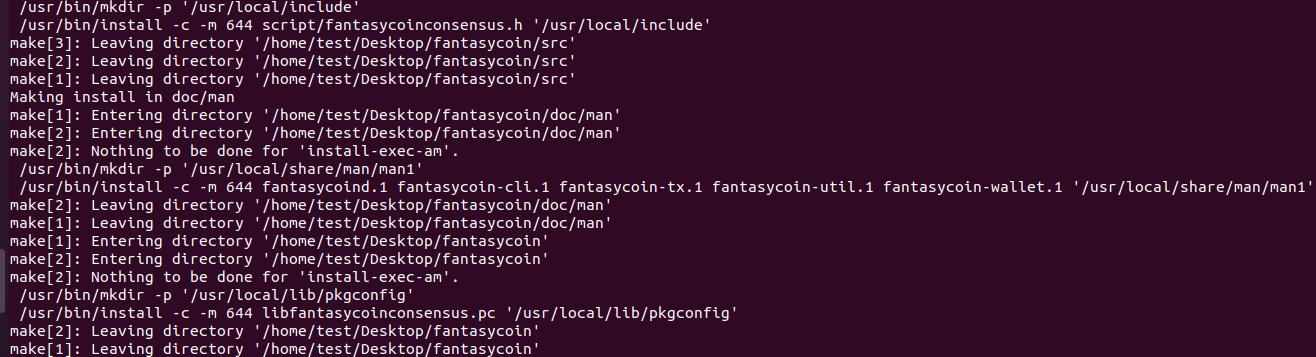
sudo make install
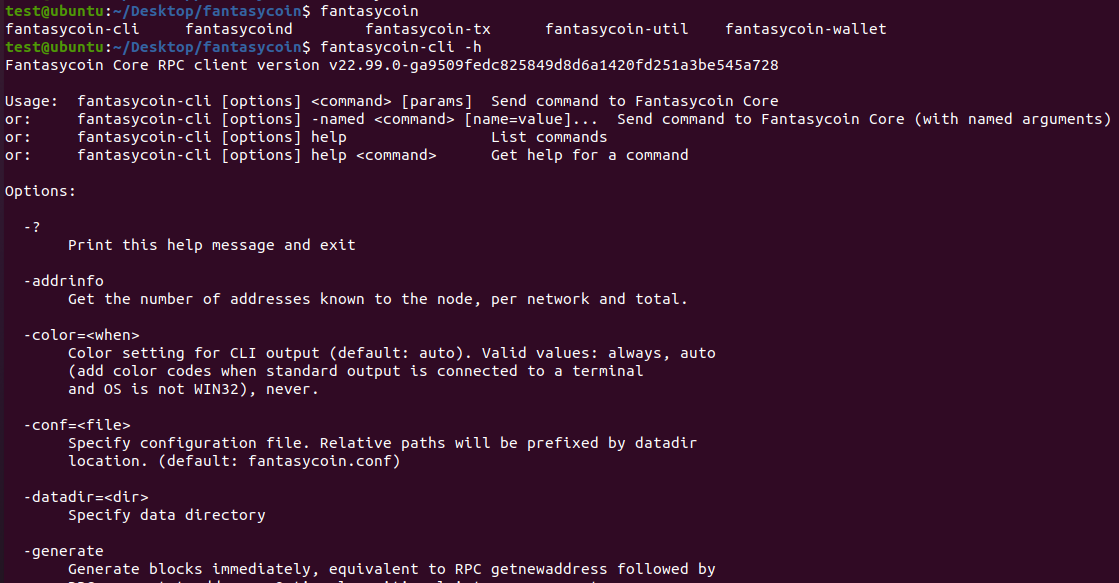
sudo make instal2l2 - 安装完成后使用
bitcoin-cli -h命令测试
bitcoin-cli -h
参考
-
malajisi01. Ubuntu编译运行bitcoin运行全节点. CSDN. [2017-10-26] ↩︎